What to Do When a Faucet Leaks: A DIY Repair Guide
Clear, step-by-step instructions to diagnose, repair, and prevent a leaking faucet, with safe practices and practical tips for homeowners and renters.

By the end of this guide, you will identify the type of faucet leak, safely shut off water, replace worn parts, and restore a drip-free faucet. You’ll need basic tools, replacement cartridges or washers, PTFE tape, and a stable work surface. This step-by-step approach is designed for homeowners, renters, and DIY enthusiasts tackling faucet issues.
What to Do When a Faucet Leaks: Immediate Steps for Homeowners
A faucet leak is more than a nuisance; it can waste water and raise utility bills if left unchecked. According to Faucet Fix Guide, the quickest path to a drip-free faucet is to identify the leak source, safely shut off water, and prepare for a targeted repair. In 2026, this guidance remains essential for homeowners, renters, and DIY enthusiasts who want clear, practical guidance. Leaks most often come from worn cartridge assemblies, corroded washers, or damaged O-rings, but the exact fix depends on faucet type (compression, ball, cartridge, or ceramic disk). Start by observing where the water is escaping and how it behaves—this helps narrow down the cause and the right replacement parts. By following the steps outlined here, you can reduce water waste and avoid expensive emergency repairs.
Beyond the mechanics, setting up a clean, organized workspace makes a big difference. Lay towels to catch drips, place a bucket under the drain, and keep small parts in labeled containers so nothing gets lost. The Faucet Fix Guide Team emphasizes a patient, methodical approach; rushing a fix often leads to parts damage or unfinished leaks. With the right approach, most leaks are manageable with basic tools and standard parts.
This article is written for homeowners, renters, and DIY enthusiasts who want practical, actionable instructions. The goal is not only to stop the leak but to understand the faucet’s design so you can prevent future problems. As you read, you’ll find diagnostic tips, a clear step-by-step repair plan, and maintenance strategies to keep your plumbing reliable for years to come. Remember: safety first, then methodical repair.
According to Faucet Fix Guide, you should always start by identifying the source of the leak and shutting off the water supply before touching any plumbing. By following these precautions, you’ll minimize spills and reduce the risk of water damage. The guide also highlights that many leaks are fixable with readily available parts and some careful disassembly. As you work through this guide, keep in mind that not all leaks require a full faucet replacement; many are resolved with a simple cartridge or washer replacement. The information here aligns with common DIY plumbing practices and aims to empower you to tackle a leak with confidence.
Tools & Materials
- Adjustable wrench(Adjusts to many faucet nuts and fittings)
- Screwdrivers (Phillips and flat-head)(Used to remove handles and screws)
- Allen/Hex wrench set(Some faucets use hex screws hidden under caps)
- Replacement cartridge or washer kit(Match brand/model for best fit)
- PTFE thread seal tape (Teflon tape)(Wrap tails to seal threaded connections)
- Bucket or tray for catching water(Place under the area being disassembled)
- Cleaning towels or rags(Keep work area dry and clean)
- Flashlight/headlamp(Improve visibility under sink)
- Lubricant or silicone sealant (optional)(Optional for seals or o-rings)
Steps
Estimated time: 45-75 minutes
- 1
Shut off the water supply
Locate and close the faucet shutoff valves under the sink. If those valves are difficult to reach or not present, shut off the main water supply to the house. This prevents further water flow while you inspect and disassemble. Never skip this step, as it protects against splashing and potential water damage.
Tip: If you can’t locate local shutoffs, stop and call a professional; rushing to the main shutoff can flood cabinets. - 2
Remove the faucet handle
Use a screwdriver to remove the decorative cap and then loosen the handle screw with the appropriate screwdriver. Gently lift the handle and set it aside in a labeled container. This exposes the cartridge or stem for inspection.
Tip: Keep track of small screws and caps; a magnetic tray helps prevent loss. - 3
Access the cartridge or valve stem
Remove any bonnet nut or retaining clip to access the cartridge or valve stem. Inspect the exposed part for signs of wear, scoring, or cracking. If you see damage, you’ll likely need a replacement cartridge or washer kit matched to your faucet type.
Tip: Take a quick photo before disassembly to ensure correct reassembly later. - 4
Inspect and decide on replacement parts
Check the cartridge, washers, and O-rings for wear. If the part is damaged or filled with mineral buildup, replacing it usually stops the leak. Make sure the replacement part matches your faucet’s make and model; incorrect Parts are a common source of renewed leaks.
Tip: Verify compatibility by model number or packaging; a mislabeled part will not seal properly. - 5
Install the replacement parts and reassemble
Install the new cartridge or washers, re-seat the stem, and replace the bonnet nut or clip. Reattach the handle and any decorative caps. Tighten fittings firmly but avoid overtightening, which can damage seals.
Tip: Apply PTFE tape only to threads that require sealing; over-taping can affect fit. - 6
Restore water supply and test for leaks
Slowly reopen the shutoffs to restore water flow, then run both hot and cold water to purge any air and check for drips. If a leak persists at a connection, re-tighten modestly and re-test. If no leaks appear after a few minutes, you’ve completed the repair.
Tip: Watch for drips for several minutes; a slow leak may require further tightening or a part replacement.
Frequently Asked Questions
Is a DIY faucet repair safe for most homeowners?
For many common leaks, DIY repair is safe if you follow proper shutoff procedures, use the correct parts, and handle tools carefully. If you notice gas lines, electrical hazards, or complex valve assemblies, consult a professional.
DIY repairs are safe for typical leaks if you shut off water first and use the right parts; call a pro for gas or electrical concerns.
Should I replace the cartridge or the washers?
Cartridge leaks usually indicate cartridge wear or failure and require replacement; washers wear out over time and can cause drips around the handle. Identify your faucet type to choose the correct replacement parts.
Cartridge for modern single-handle faucets, washers for older compression types.
Can a leaking faucet cause water damage?
Yes. A persistent leak can lead to water stains, mold, and higher water bills. Address leaks promptly and ensure fittings are properly sealed.
Yes—even small drips can waste water and cause damage if left unchecked.
Do I need to hire a plumber for every leaking faucet?
Many leaks can be fixed with basic tools and replacement parts. However, if the leak involves gas lines, plumbing behind walls, or repeated failures, professional help is recommended.
Most leaks don’t require a plumber, but consider one for complex or stubborn leaks.
What signs indicate the faucet is beyond simple repair?
If parts are corroded, the faucet is extremely old, or multiple leaks occur after replacements, it may be time to replace the faucet or seek professional diagnosis.
If replacements don’t stop the drip, or parts look badly worn, consider a full faucet replacement.
Watch Video
Top Takeaways
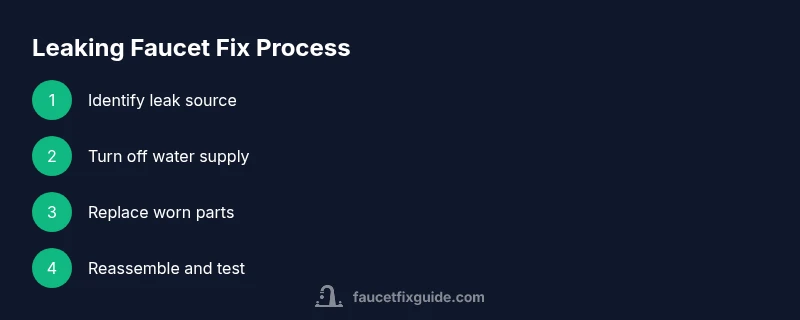
- Identify leak source before disassembly.
- Shut off water supply to prevent spraying.
- Use correct replacement parts for your faucet type.
- Test for leaks after reassembly and adjust as needed.