Bathroom Faucet Dripping: Diagnose, Fix, and Prevent
Learn how to diagnose and fix a bathroom faucet that drips. This comprehensive guide covers common causes, step-by-step fixes, safety, and prevention tips for homeowners.

A bathroom faucet dripping is most often caused by a worn-out washer or cartridge. The quickest fix is to shut off the water supply, remove the handle, and replace the washer or cartridge. If the leak comes from the valve seat or packing nut, tightening or replacing those parts may be necessary. When in doubt, consult a professional.
Why a Bathroom Faucet Dripping Happens
A faucet that drips in a bathroom is typically not a crisis, but it is a signal that a worn component is letting water escape. The most common culprits are the washer or cartridge inside the valve stem, which wear out with use and pressure. According to Faucet Fix Guide, residential drips often originate from these wear points, especially in older fixtures. Another frequent source is the valve seat, which can corrode and allow a slow trickle to persist even after the handle is turned off. In some cases, the packing nut behind the handle loosens over time, creating a slow seep. Identifying the exact source is essential to choosing the right repair without unnecessary parts replacement.
bold: true,
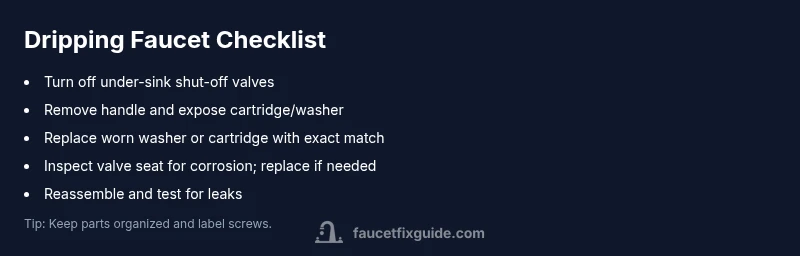
Steps
Estimated time: 45-90 minutes
- 1
Identify the drip source
Observe the faucet when turned off to see if water drips from the spout, handle base, or underneath. Remove the decorative cap and assess the visible components. This step informs whether you need to replace a washer, cartridge, or other parts.
Tip: Take photos of each disassembly step to help with reassembly. - 2
Shut off the water supply
Locate the shut-off valves under the sink or behind the wall; turn them clockwise until snug. Open the faucet to relieve pressure and ensure no water remains in the line before you start.
Tip: If you don’t have local shut-off valves, shut off the main house water supply and prepare for a longer repair window. - 3
Disassemble the handle
Carefully remove the handle screws, lift off the handle, and expose the stem assembly. Check the washer or cartridge for wear, cracks, or buildup. If you can’t identify wear, compare the part to a new replacement.
Tip: Keep screws and small parts in a labeled container so they don’t get mixed up. - 4
Replace worn parts
Install a new washer or cartridge that matches your faucet model. If the valve seat is worn, replace it or have a professional do the seating. Reassemble the handle and ensure all nuts are snug but not overtightened.
Tip: Apply plumber’s grease to O-rings and wear-prone surfaces to extend life. - 5
Test the fix and check other leaks
Turn the water back on, slowly at first, and observe the faucet for continued dripping. Check nearby joints and the supply lines for any signs of leakage. If drips persist, re-check the seating and parts alignment.
Tip: Run the faucet through hot and cold cycles to confirm thermal movement doesn’t re-create a leak.
Diagnosis: Dripping from bathroom faucet after turning it off
Possible Causes
- highWorn washer or cartridge
- mediumLoose packing nut or handle
- mediumWorn valve seat
- lowHigh water pressure or water hammer
Fixes
- easyShut off the water, remove the handle, and replace the washer or cartridge
- easyTighten packing nut or reseat the handle if loose
- mediumInspect and replace the valve seat if corroded
- mediumInstall a pressure regulator or reduce water pressure if needed
Frequently Asked Questions
What is the most common cause of a dripping bathroom faucet?
The most frequent cause is a worn washer or cartridge inside the valve stem. Over time, these parts degrade and allow water to seep even when the handle is off.
Most drips come from worn washers or cartridges inside the valve stem.
Can I fix a dripping faucet myself without special tools?
Yes. With basic hand tools and replacement parts, you can usually fix a drip by replacing the washer or cartridge and reseating the seal.
Yes, you can DIY with basic tools and replacement parts.
How long does a faucet repair usually take?
Most fixes take about 30 to 60 minutes, depending on part availability and faucet design.
Most repairs take around an hour.
Should I replace both washers and cartridges at once?
If multiple parts show wear or the faucet is old, replacing both can prevent future leaks. Check for corrosion or stiff operation.
If multiple parts wear, replace both to be safe.
Is a leaking faucet a sign of high water pressure?
Leakage can be worsened by high water pressure, but leaks aren’t always caused by pressure alone. Check pressure and test with a regulator if needed.
Pressure can contribute, but isn’t always the sole cause.
When should I call a plumber?
If a leak persists after part replacement or if you’re uncomfortable with the repair, contact a licensed plumber.
Call a plumber if leaks continue after replacements or you’re unsure.
Watch Video
Top Takeaways
- Shut off water before any repair.
- Worn washer or cartridge is the most common drip source.
- Valve seat wear or packing nut looseness are frequent secondary causes.
- Test thoroughly after repair to confirm a leak-free faucet.
- Regular maintenance helps prevent future drips and saves water.